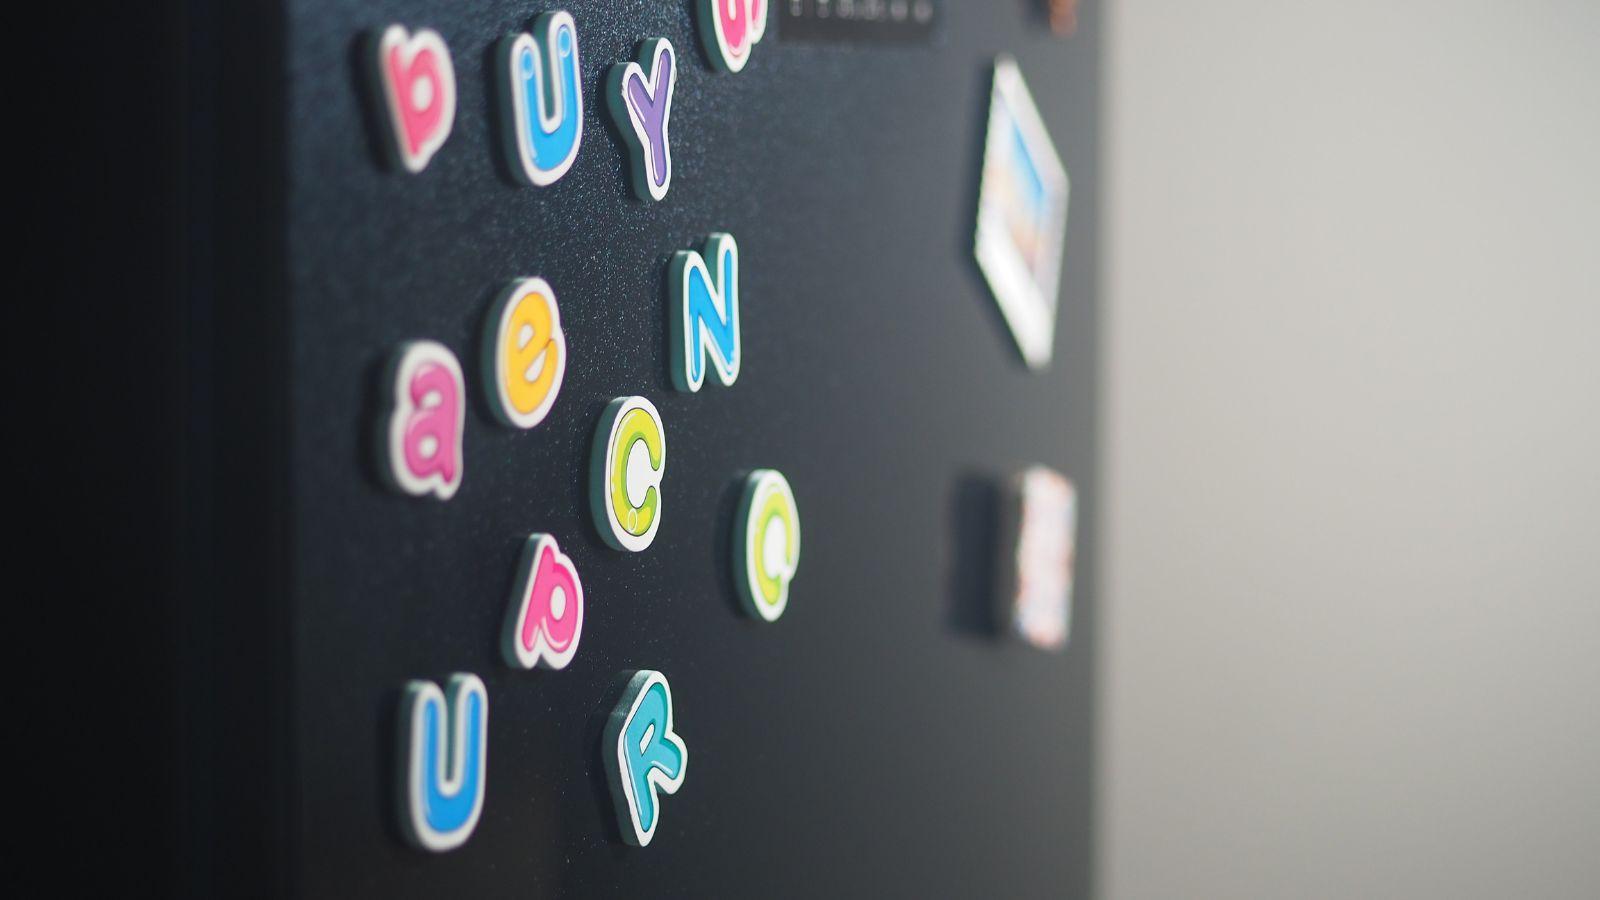
Custom stickers are used across packaging, product branding, event promotions, and small-batch merchandise. Because stickers are often small and cut to precise shapes, small design decisions can have an outsized impact on the final result.
Modern mockup tools for stickers combine layout templates, sizing controls, preview simulations, and export settings in one workflow. This reduces the need to switch between separate design and production tools while helping maintain alignment with print specifications.
For beginners, these platforms simplify setup and reduce common technical errors. For professionals, they streamline iteration across multiple sizes and materials without rebuilding artwork from scratch.
Adobe Express offers a practical starting point by combining sticker-ready templates with editing and export tools tailored to print production.
Table of Contents
ToggleStep-by-step how-to guide for using Mockup Tool for Stickers
Step 1: Select the sticker format and begin with a print-sized template
Goal
Ensure the design canvas matches the exact sticker dimensions before adding artwork.
How to do it
- Confirm sticker type (circle, square, rectangle, die-cut, kiss-cut, or sheet).
- Review required dimensions, bleed, and safe zones from the printer.
- Start with a sticker-specific layout rather than a blank canvas.
- Replace placeholder text or graphics to test spacing.
- Keep key design elements within the safe margin area.
What to watch for
- Die-cut stickers require extra bleed for trimming.
- Small stickers magnify alignment mistakes.
- Designs too close to edges may be clipped during cutting.
Tool notes
- You can print custom stickers using Adobe Express with preset layouts sized for common sticker formats, helping reduce scaling errors early in the process.
- If collaborating with a team, Zoho WorkDrive can centralize template files and production specifications for shared access.
Step 2: Establish a clear visual hierarchy
Goal
Create a design that remains readable and balanced at small physical sizes.
How to do it
- Identify one primary visual element (logo, phrase, icon, illustration).
- Remove non-essential decorative details.
- Limit the number of fonts and colors.
- Duplicate the layout to test simplified versions.
- View the design at reduced zoom to simulate real-world scale.
What to watch for
- Overcrowded layouts reduce clarity.
- Fine lines may not reproduce cleanly.
- Long phrases may feel compressed on small stickers.
Tool notes
- Adobe Express allows quick duplication and layout refinement without rebuilding the file.
- For structured feedback collection, Coda can track revision notes and approval comments alongside file references.
Step 3: Account for bleed and trimming boundaries
Goal
Prepare the design for cutting precision and edge-to-edge printing where needed.
How to do it
- Extend background colors slightly beyond trim lines.
- Add bleed margins according to printer guidelines.
- Keep critical text and logos away from contour edges.
- Confirm symmetry for circular or irregular shapes.
- Preview the design against light and dark backgrounds.
What to watch for
- Insufficient bleed may expose white edges.
- Irregular shapes require precise alignment.
- Decorative borders can look uneven after trimming.
Tool notes
- Adobe Express provides alignment guides that help maintain consistent margins.
- For documenting production checkpoints, Teamwork.com can track bleed verification and file approvals.
Step 4: Optimize resolution and color accuracy
Goal
Maintain clarity and color consistency in the final printed sticker.
How to do it
- Use images at 300 DPI at final sticker size.
- Avoid enlarging low-resolution files.
- Increase contrast slightly for readability.
- Simplify complex gradients.
- Flatten layers if required by the print provider.
What to watch for
- Screenshots often lack sufficient resolution.
- Bright neon colors may shift depending on vinyl.
- Dark artwork may appear muted on matte finishes.
Tool notes
- Adobe Express supports high-resolution export suitable for sticker printing.
- For managing final file versions securely, pCloud can provide controlled sharing and version history.
Step 5: Generate realistic mockup previews
Goal
Visualize how the sticker will appear in real-world applications.
How to do it
- Preview the sticker on sample surfaces such as laptops or packaging.
- Compare scale relative to everyday objects.
- Adjust border thickness if it looks disproportionate.
- Confirm transparent backgrounds display correctly.
- Review alternate layout versions side by side.
What to watch for
- Designs may appear smaller in context than expected.
- Borders may feel heavier at physical scale.
- Surface textures in previews can exaggerate imperfections.
Tool notes
- Adobe Express includes preview functionality to simulate sticker placement.
- If integrating sticker visuals into a broader website launch, Webflow can host product pages and preview mockups within a CMS workflow.
Step 6: Export the final print-ready file
Goal
Produce a file that aligns precisely with the printer’s technical requirements.
How to do it
- Confirm required export format (PDF or high-resolution PNG).
- Match export dimensions exactly to the template.
- Disable unnecessary compression.
- Double-check bleed and margin settings.
- Save a clearly labeled final version.
What to watch for
- Automatic resizing can distort proportions.
- Low-quality export settings may soften edges.
- Missing bleed margins can result in uneven trimming.
Tool notes
- Adobe Express export options support standard high-resolution formats appropriate for vinyl and paper stickers.
- Reviewing the file in Adobe Acrobat Reader helps confirm layout and scale before submission.
Step 7: Coordinate production timelines and distribution
Goal
Manage quantities, scheduling, and delivery without disrupting the design workflow.
How to do it
- Confirm order quantities and turnaround times.
- Request a sample for larger production runs.
- Verify shipping addresses and packaging details.
- Store order confirmations alongside final artwork.
- Track delivery timelines against launch or event schedules.
What to watch for
- Production delays during seasonal demand spikes.
- Slight color variation between digital proof and final product.
- Packaging differences for bulk distribution.
Tool notes
- Adobe Express files can be reused for alternate sizes or reorders.
- For shipment tracking and fulfillment management, ShipStation can coordinate label creation and delivery tracking across carriers.
Common workflow variations
- Logo-focused branding sticker: Use bold contrast and generous margin spacing. Preview on both dark and light backgrounds to confirm versatility.
- Illustrated die-cut sticker: Extend artwork into bleed areas and confirm contour alignment before export.
- Text-based phrase sticker: Keep typography bold and spacing generous. Test readability at small sizes before finalizing.
- Sticker sheet layout: Arrange multiple small graphics within consistent spacing and trim margins.
Before you start checklist
- Final sticker dimensions confirmed
- Bleed and safe zone guidelines reviewed
- High-resolution artwork prepared
- Brand colors and fonts finalized
- Material type selected (vinyl, paper, matte, gloss)
- Production timeline established
- Shipping destination verified
- Usage rights confirmed for all images
Pre-export / pre-order checklist
- Artwork inside safe margins
- Bleed extended where required
- Resolution verified at 300 DPI
- No pixelation at full zoom
- Export format matches printer requirements
- File labeled clearly with version number
- Final file reviewed in PDF viewer
- Order quantity confirmed
Common issues and fixes
- Blurry printed stickers.
Replace low-resolution images and export at full resolution. - Uneven edges after cutting.
Increase bleed margins and keep critical artwork away from trim lines. - Sticker appears smaller than expected.
Reconfirm physical dimensions before exporting. - Colors look dull on vinyl.
Increase contrast slightly and avoid subtle gradients. - Transparent background not printing correctly.
Verify that transparency is supported and that no hidden white layers remain. - Incorrect file submitted to printer.
Maintain consistent file naming and keep only approved versions in the production folder.
How To Use Mockup Tool for Stickers: FAQs
Is a template-first workflow better than designing from scratch?
Templates reduce sizing and margin errors, especially for die-cut formats. Designing from scratch offers flexibility but increases alignment risk.
What file format is typically required for sticker printing?
High-resolution PDF or PNG files are commonly accepted. Requirements vary by print provider.
How detailed should sticker artwork be?
Small-format stickers benefit from simple shapes and strong contrast. Fine detail may be lost when scaled down.
When is a physical proof recommended?
For larger print runs or retail distribution, a proof can confirm color and alignment accuracy. Smaller batches may rely on careful digital review.
Should bleed margins always be included?
Yes. Extending background elements beyond trim lines helps prevent visible white edges after cutting.


